Flatbed Scanner
On this page
This guide covers the Epson 10000XL for scanning Reflective items - defined by the Epson Scan software as documents and photos. Light does not pass through these items as it does on translucent items such as film.
Hardware: Epson Expression 10000XL (under 11x17in)
Software: Epson Scan
Preparing your Item For Scanning
Flatbed scanners require items to be placed face-down on the document table.
Ensure the scanner table is clear of dust before placing your item.
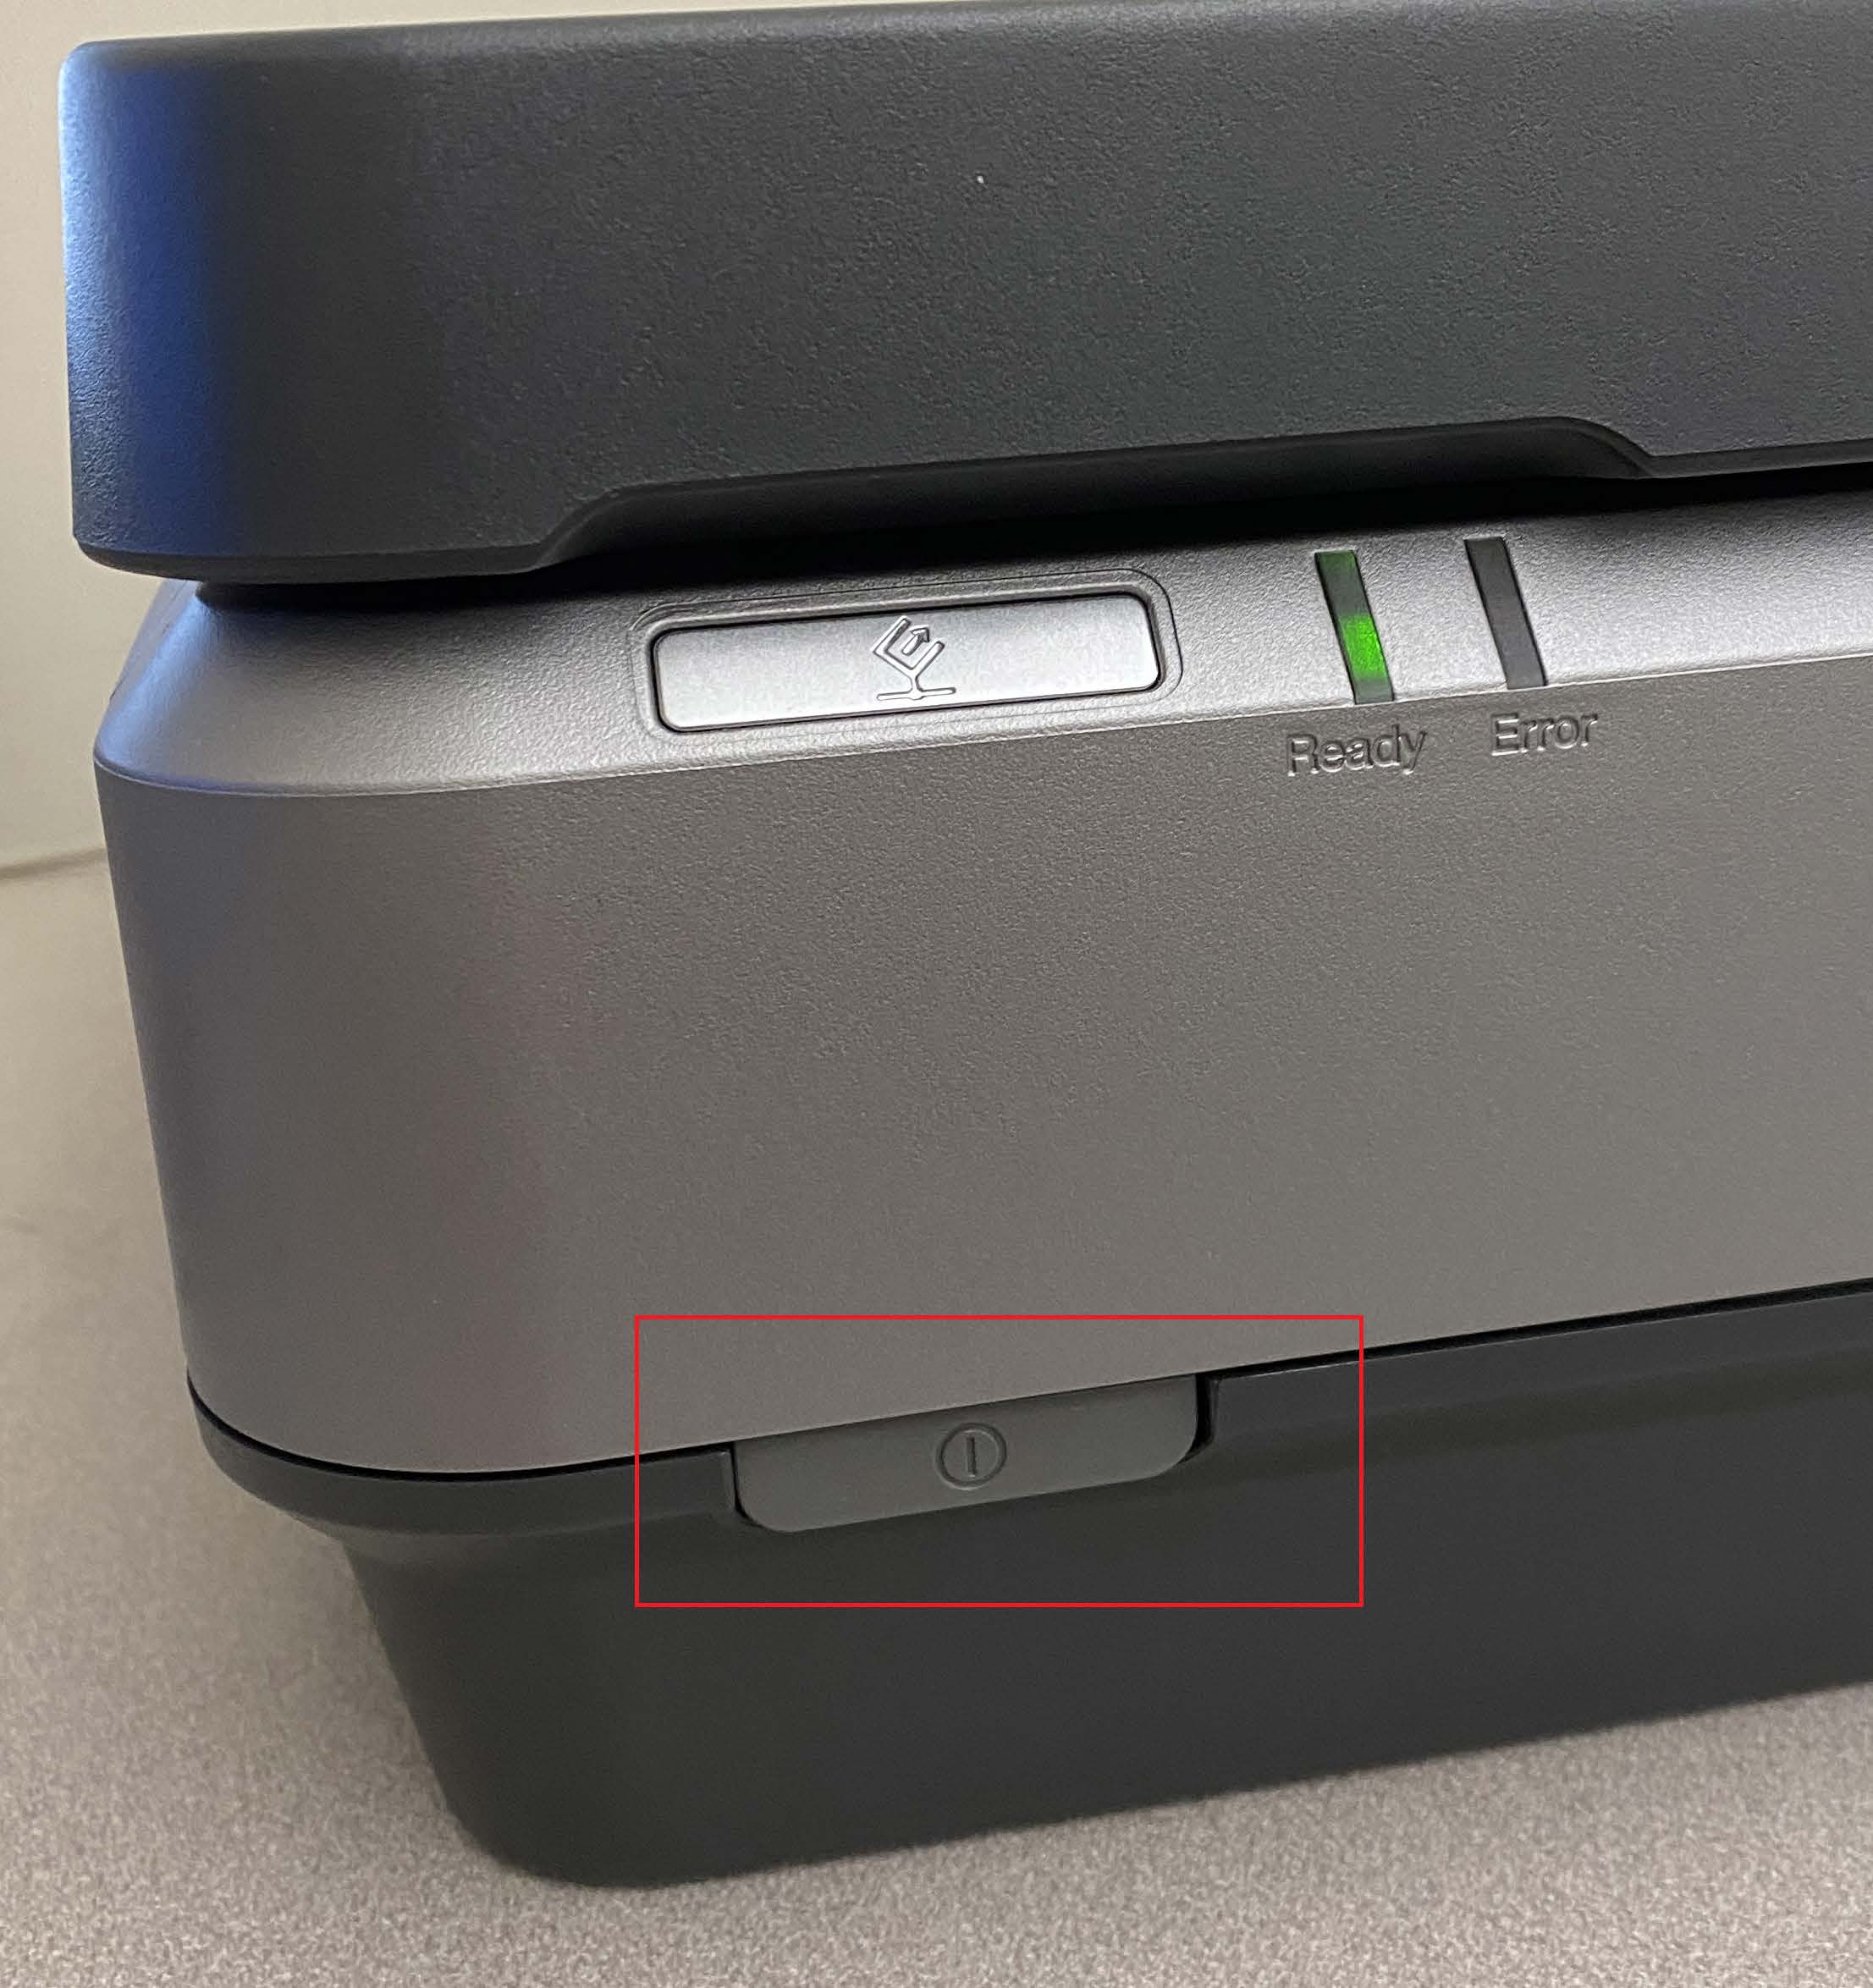
Turn on the scanner using the power button.
Program Settings
To access the scanner program, select the Epson Scan icon on the work station’s desktop.

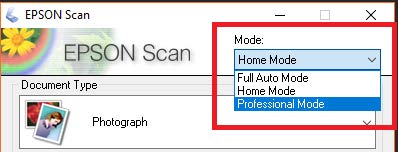
The computer will launch the scanner program in Professional Mode. If it launches in Auto or Home Mode, you can select Professional mode in the top right of the window.
Original Section
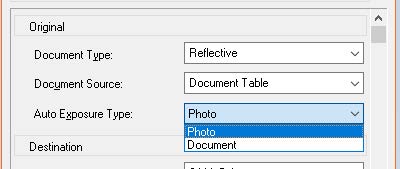
Select setting that matches the item you are scanning.
For Reflective items, choose between photo or document.
Destination Section
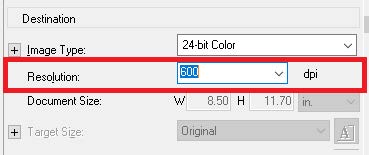
Select your project resolution. Check our Digitization Standards Document for information on which DPI (“dots per inch”) is ideal for your project.
We recommend leaving Image Type as 24-bit Color to preserve as much of the original image as possible with no overcorrection from the program.
Adjustments Section
Options for the scanner to correct the image in post-production.
These options are unnecessary for most scanning and can be left unselected if unsure.
| Setting | Available mode(s) and description |
|---|---|
| Color Restoration | Restores the colors in faded photos automatically. |
| Brightness | Adjusts the overall image lightness and darkness. Click the Image Adjustment button to access the Brightness setting. |
| Contrast | Adjusts the difference between the light and dark areas of the overall image. Click the Image Adjustment button to access the Contrast setting. |
| Saturation | Adjusts the density of colors in the overall image. Click the Image Adjustment button to access the Saturation setting. |
| Color Balance | Adjusts the balance of red, green, and blue colors in the overall image. Click the Image Adjustment button to access the Color Balance setting. |
| Auto Exposure | Click the Auto Exposure button. To turn it on continuously, click the Configuration button, click the Color tab and select Continuous auto exposure. You can adjust the level of exposure adjustment using the slider. |
| Unsharp Mask Filter | Turn on to make the edges of image areas clearer for an overall sharper image. The level of sharpness is adjustable. Turn off to leave softer edges. |
| Descreening Filter | Removes the rippled pattern that can appear in subtly shaded image areas, such as in skin tones. Also improves results when scanning magazine or newspaper images which include screening in their original print processes. The results of the Descreening Filter do not appear in the preview image, only in your scanned image. |
| Histogram | Provides a graphical interface for adjusting highlight, shadow, and gamma levels individually. For advanced users only. Click the Histogram Adjustment button to access the Histogram setting. |
| Tone Correction | Provides a graphical interface for adjusting tone levels individually. For advanced users only. Click the Tone Correction button to access the Tone Correction setting. |
| Threshold | Adjusts the level at which the black areas in text and line art are delineated, improving text recognition in OCR programs. (Available only when you select Black & White as the Image Type setting.) |
File Location and Format
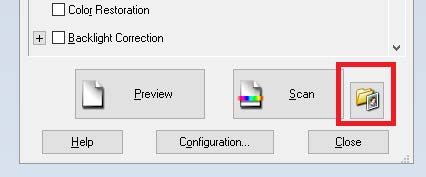
Select this folder icon with a photo in front of it (boxed in red below) on the menu.
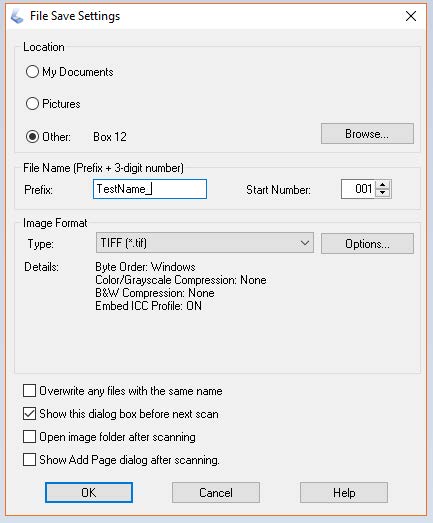
This will open a new window. Under the Location section, select whether you would like your files saved under My Documents, Pictures, or a custom location using the Browse button.
Under the Image Format section, select your preferred file type. Check our Digitization Standards Document for information on which image format is ideal for your project.
Scanning
Previewing Your Scan
Pressing the Preview button will initiate a quick scan on the scan bed. The Preview window will open.
From the official user guide:
To select your scan area, click the auto locate icon (shaped like a green square with two black arrows pointed toward it) to place a marquee that marks the edges of your image area. You can move the marquee to change the scan area.
To zoom in on an image, click inside the scan area and click the Zoom button. EPSON Scan prescans again and displays a larger preview on the Zoom tab. (Your other images are still previewed at the original size on the Preview tab.)
You can move the marquee, adjust its size, and create multiple marquees on one image to scan different image areas in separate scan files.
Scan
Press “Scan” to begin the scan. The file will be saved to your selected folder.